Introduction.
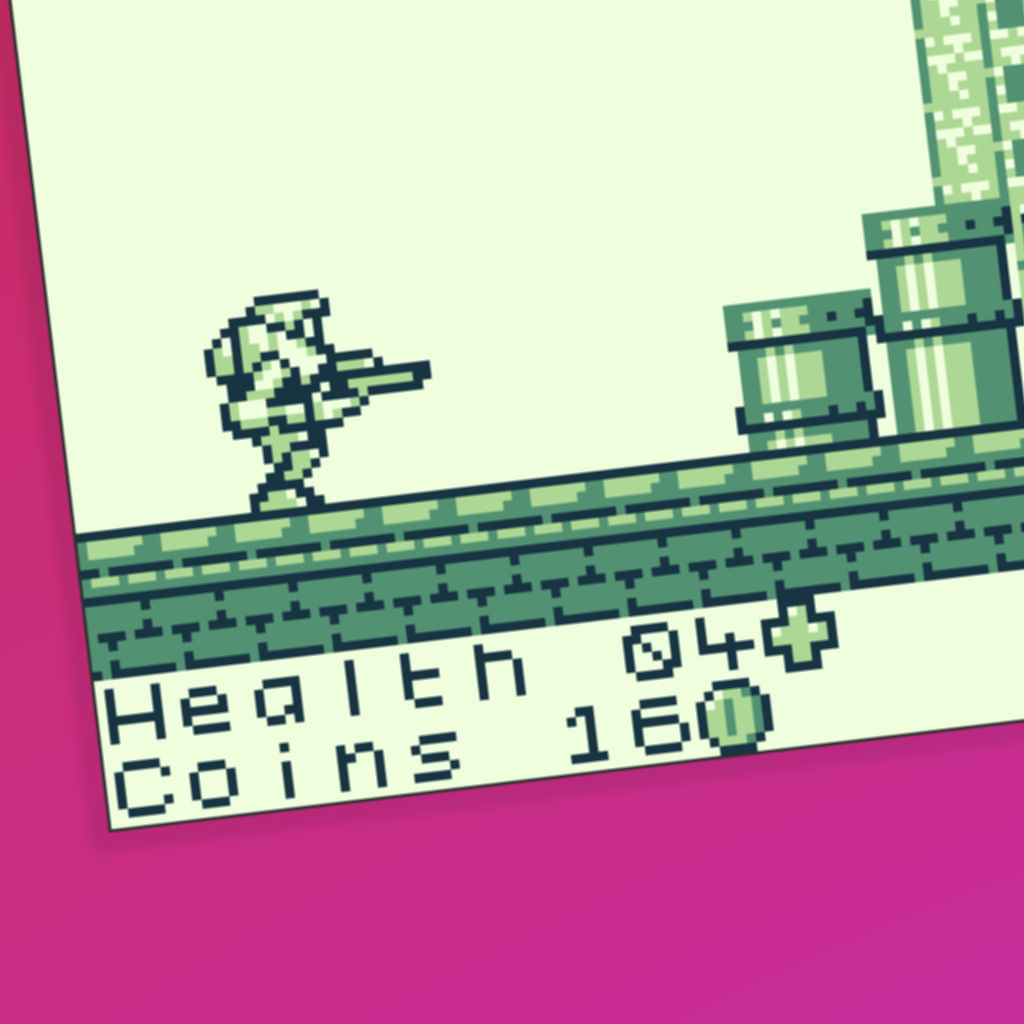
We have covered how to prepare to edit the GB Studio engine and how the GB Studio engine is structured. Now let’s actually make an engine edit. In part three, we will be modifying the adventure.c file step by step. We are going to adapt it into a Belt Scroller scene type. By Belt Scroller, I’m referring to a side-on perspective where the player can move in and out of the screen. You could use it for GB Studio beat ‘em ups, or side scrolling adventure games, or Paper Mario-likes.
The Belt Scroller plugin will work for any game with this kind of perspective.
Planning the edit.
Starting at the beginning, I recommend writing out exactly what features you plan to add or modify in your engine edit. The more specific you are with your planned features, the less you will have to think about them when writing the code, which encourages a smooth workflow.
To adapt the Adventure scene into a Belt Scroller, we will need:
- Modified player movement, so the player moves more slowly in the Y axis than the X axis.
- Modified player animation, so the player only faces left or right, not up and down.
Modifying player movement.
Let’s modify player movement so that the player moves more slowly in the Y axis than the X axis.
First, we’ll locate the part of the code responsible for player movement. It’s the section of adventure_update() enclosed by the if(player_moving) statement. The player moves towards new_pos each frame. If we reduce the Y distance between PLAYER.pos and new_pos, the player will move more slowly in the Y axis. We’ll achieve this by adding the following line that changes new_pos.y to the center point of PLAYER.pos.y and new_pos.y.
new_pos.y = (PLAYER.pos.y + new_pos.y) >> 1;
Modifying player animation.
Let’s modify player animation so that the player only faces left or right, not up and down. First, we’ll add a new variable to adventure.c. belt_dir will keep track of whether the player should be facing left or right. We can define it with the following line before our function definitions.
direction_e belt_dir = DIR_RIGHT;
Next we will update this variable whenever the player presses left or right. We’ll do this by adding two lines to the existing input code in adventure_update().
if (INPUT_LEFT) { belt_dir = DIR_LEFT; ... } else if (INPUT_RIGHT) { belt_dir = DIR_RIGHT; ... }
Now we need to update the player’s animation based on belt_dir in adventure_update(). Let’s modify the existing code that updates the player’s animation to use belt_dir instead of new_dir.
if (new_dir != DIR_NONE) { actor_set_dir(&PLAYER, belt_dir, player_moving); } else { actor_set_anim_idle(&PLAYER); }
The edit is now complete! This is a very simple edit, but hopefully that means you can follow every step and appreciate the workflow of creating an engine edit.
Now what kind of game should I make with this edit...?
Test and iterate on your edits.
We made minimal edits to the code, so it should function just fine with the rest of the engine, but we can’t just assume that. Regardless of whether you make minor or major edits, you should playtest thoroughly. If you do, you should find any bugs or errors you may have introduced!
I rarely settle for the first iteration of my engine edits. While working on a game, I will constantly modify the engine to squash bugs and tweak functionality.
Even the Belt Scroller edit we made in this guide needs more testing. If you want to test it yourself, or just take a look at the finished code, you can go to this Github repo. If you find a bug, let me know!
Next steps.
After editing your engine, you might want to package the edits into a plugin. Not only is it much more organised, it allows you to add multiple plugins to a single project and combine engine edits. In part four of this guide, we will package the Belt Scroller engine edits into a user-friendly plugin!
Guide by Shin. Thanks to 2bitcrook for plugin testing. Last updated 5/9/2024.